iTerm2 spring cleaning and setup
As a consultant I have the privilege to work at different places and adopt their way of doing things. My last assignment went on for 2 years. I remember when I started there, and they told me I needed to work with a PC and with windows as my operating system... As a web developer, coming from heavy use of Linux and most recently back then mac for a couple of years, I dreaded this. Developing on a windows machine was not only new for me but I had also heard the horror stories. I can say now with confidence that most of them are just that, stories. Sure, I still prefer a Unix based environment but with Linux subsystem for windows and VSCode I got by just fine. But time has now come for a new adventure, and I can choose my environment freely this time. As they say, “old habits die hard”, so now I am sitting with a mac Infront of me again. Of course, I spend some day(s) on setting it all up.
Getting new hardware today is both more and less fun than a couple of years back. It is more fun because I can just download all my configuration files (dot-files) and I’m good to go. Or I can just use the migration assistance on the mac and copy my old mac. This is truly amazing. However, this way is less fun. Because I just realised I haven't customised much of anything on my mac(s) for the past 7 years... Yes, that is right, same old short cuts, background images, terminals, themes etc as always. So, this time I’m cloning a lot, but I also decided to clean up my iTerm/zsh shell set up at least. And I thought I could share a tiny piece of it that, namely the oh-my-zsh and powerlevel10k set up.
Clean install of iTerm2
Install oh-my-zsh
sh -c "$(curl -fsSL https://raw.github.com/ohmyzsh/ohmyzsh/master/tools/install.sh)"
Install powerlevel10k
git clone --depth=1 https://github.com/romkatv/powerlevel10k.git ${ZSH_CUSTOM:-$HOME/.oh-my-zsh/custom}/themes/powerlevel10kSet
ZSH_THEME="powerlevel10k/powerlevel10k"in~/.zshrc.Restart iTerm2 and you will be prompted to configure powerlevel10k. If you don’t or already have powerlevel10k installed and want to set it up like me just run
p10k configure
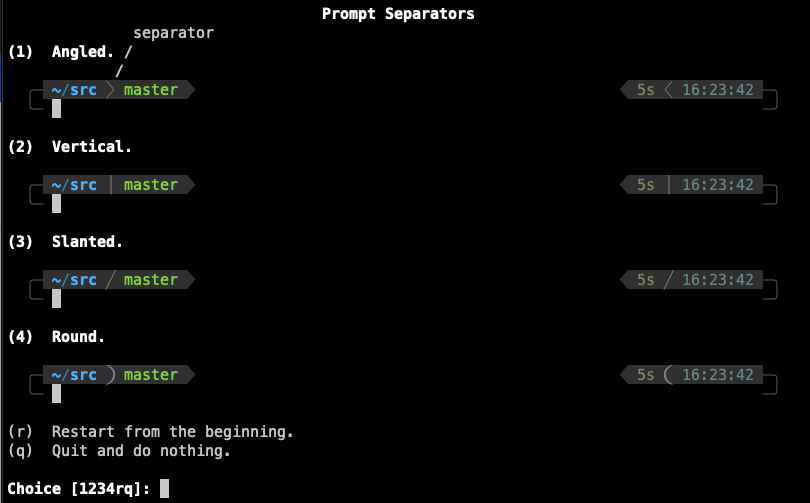
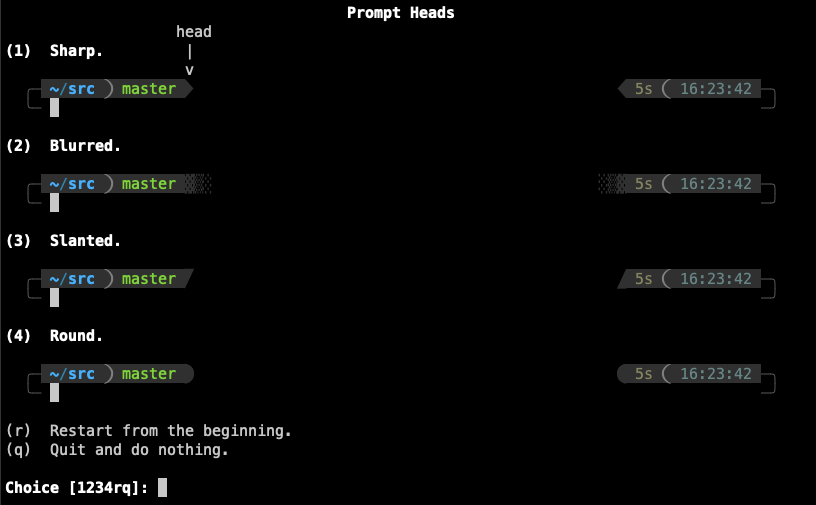
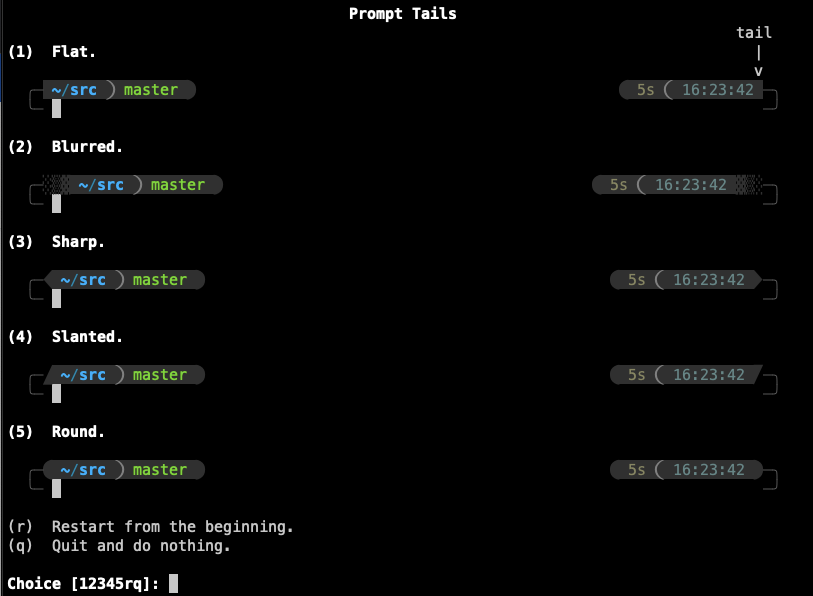
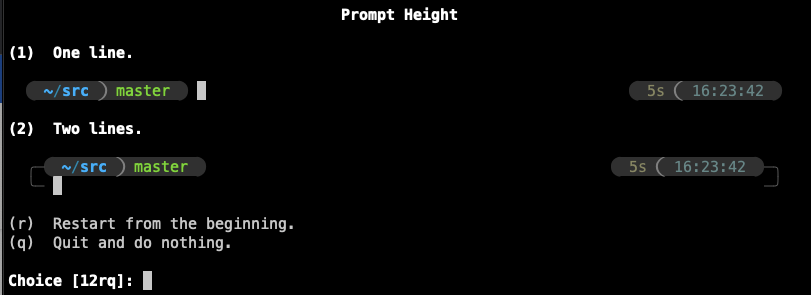
First off, you can customize this to your hearts desire but if you want to end up with the same result as I have you can follow these steps:
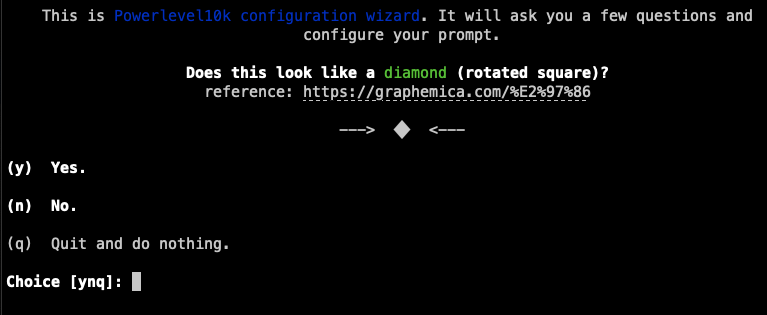
Answer: y
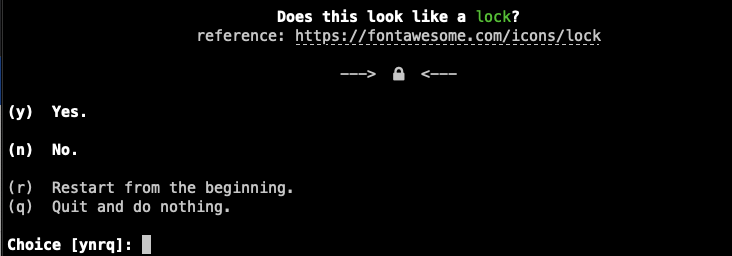
Answer: y
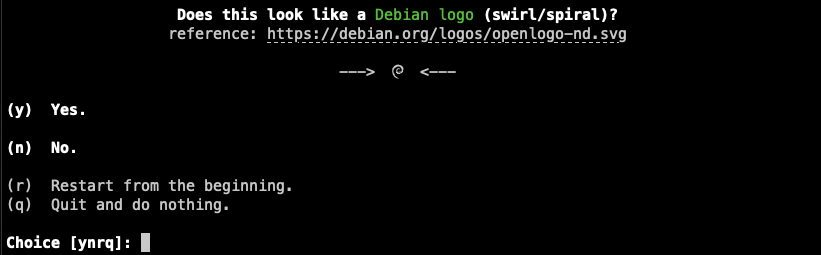
Answer: y
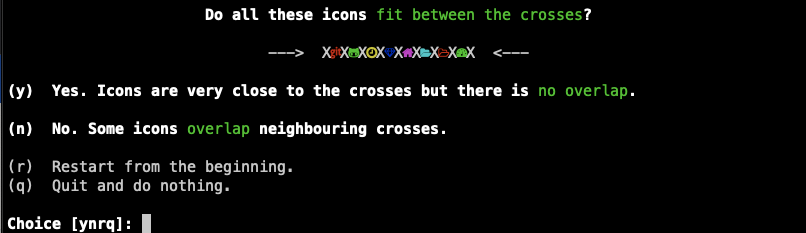
Answer: y
Answer: 2
Answer: 1
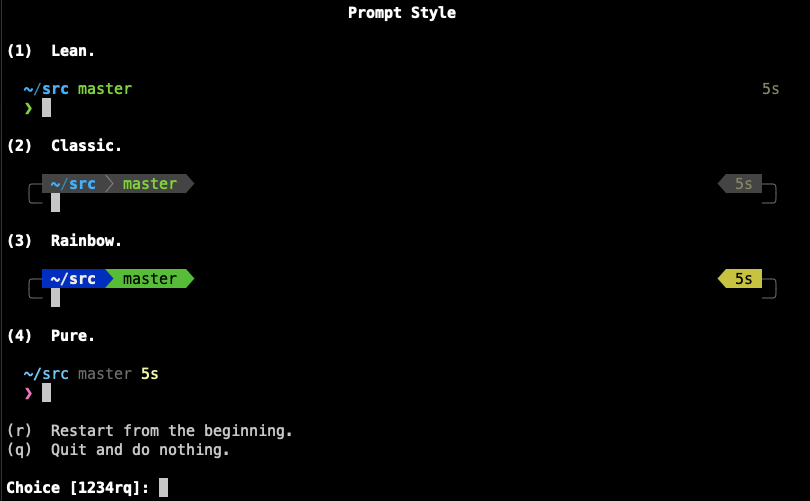
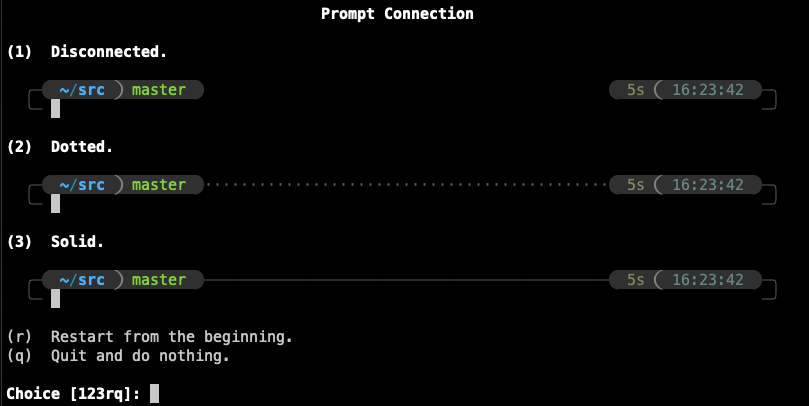
Answer: 3
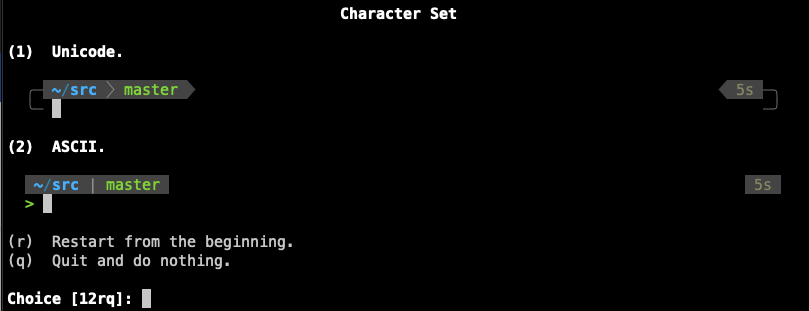
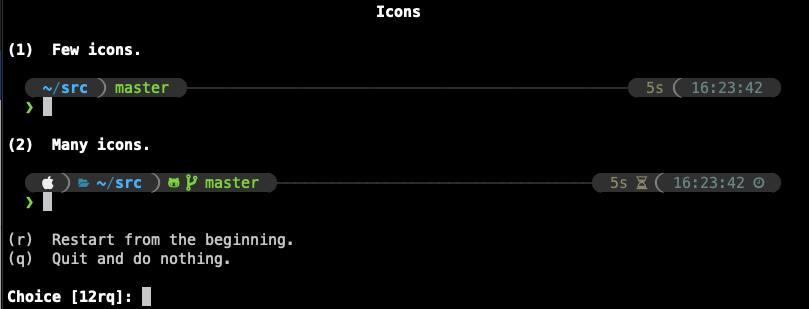
Answer: 2
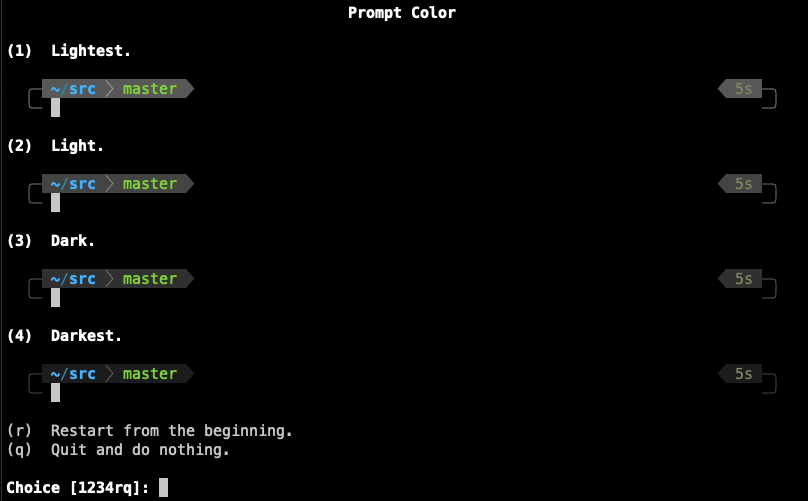
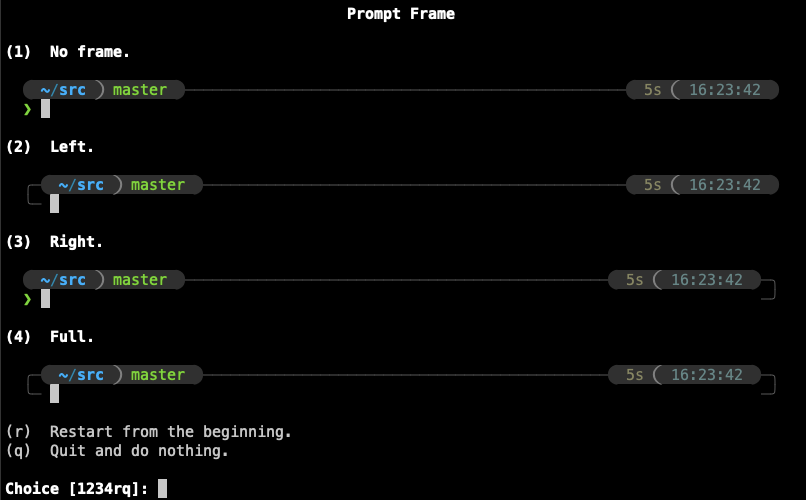
Answer: 4
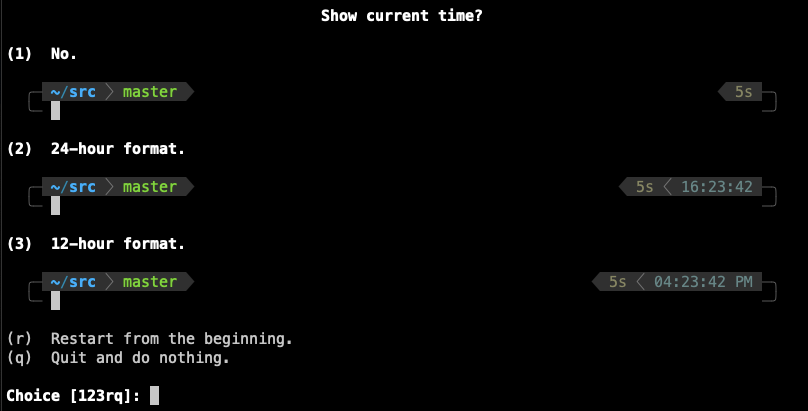
Answer: 4
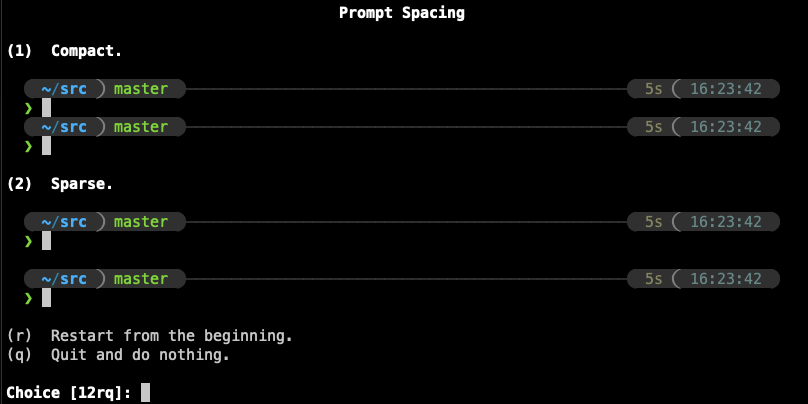
Answer: 5
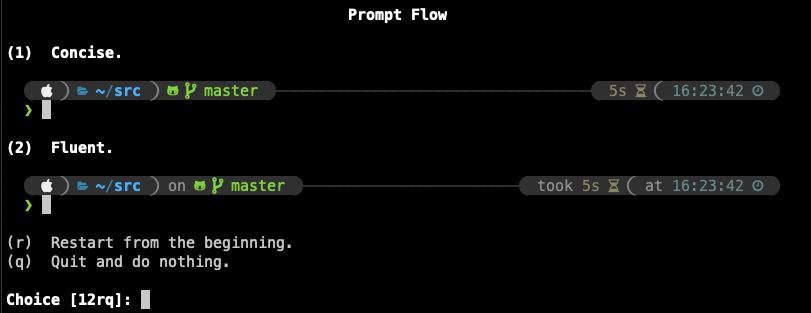
Answer: 2
Answer: 3
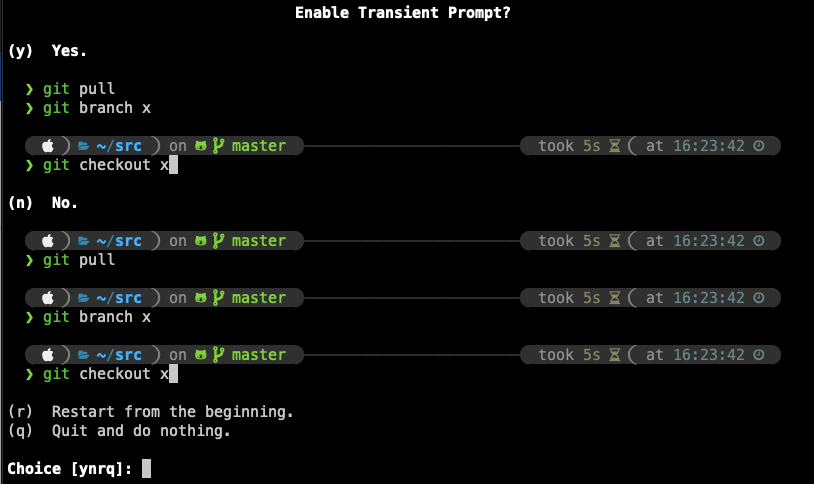
Answer: 1
Answer: 2
Answer: 2
Answer: 2
Answer: n

Answer: 1
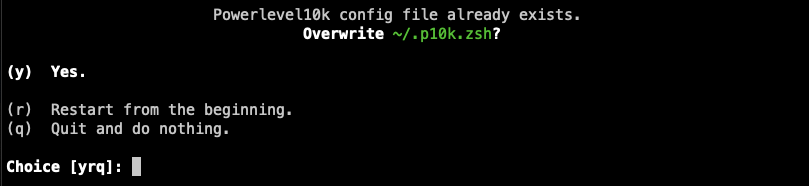
Answer: y
Now, take a moment and just adore this beauty! Observe how nicely the lines linking the path and timestamp sections the terminal’s text flow making it super easy to find where my prompts were in the history.
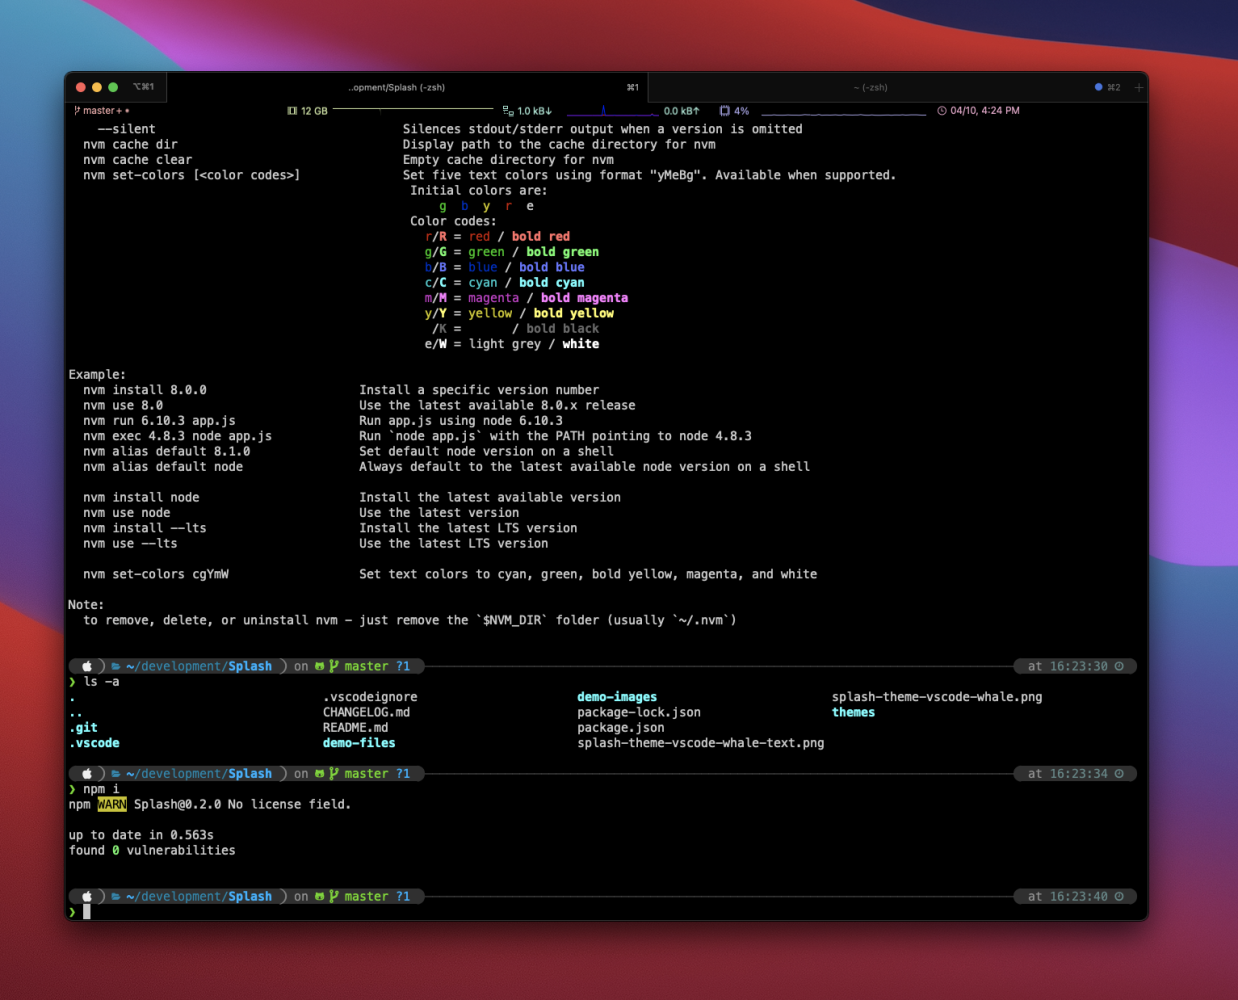
You might be done now, that is up to you. But I kept going, and I found a nice iTerm2 color theme called
Earthsong, and then I adjusted the background color to#141210. And here is the final result: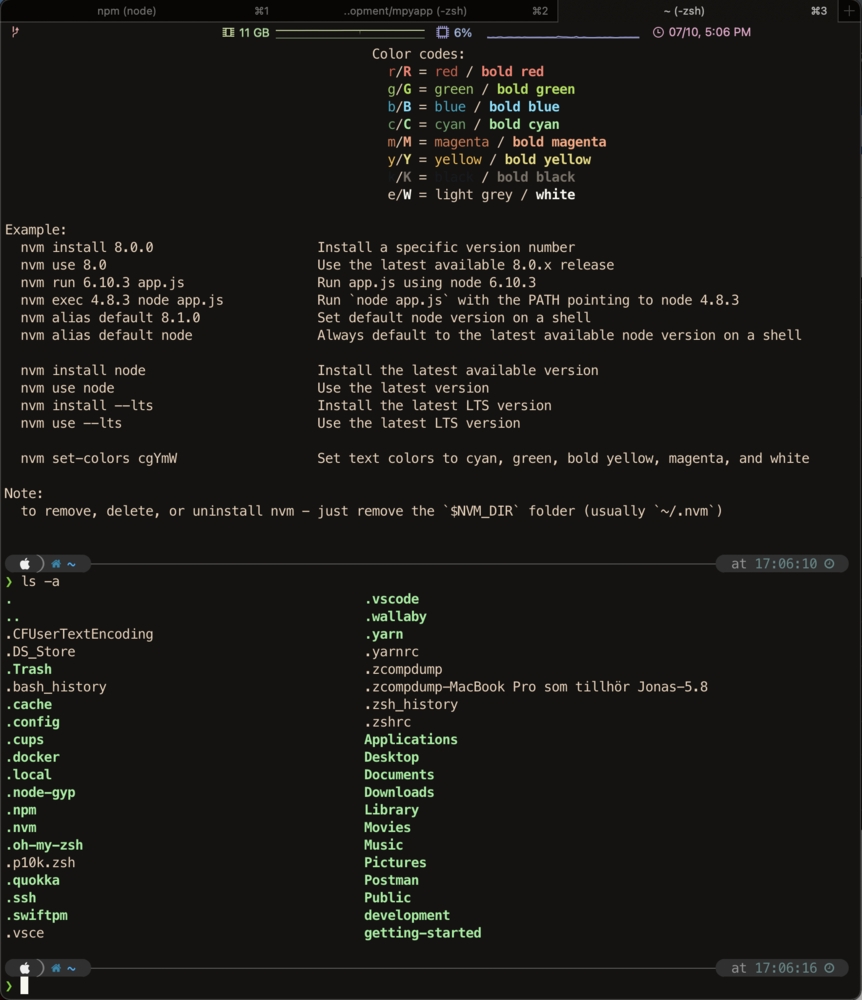
That was all for this time. Enjoy your new iTerm look!
As always, thanks for reading! You can find all of my articles here or via my profile Jonas Johansson on medium.